Propagating Pothos and Philodendrons in Water
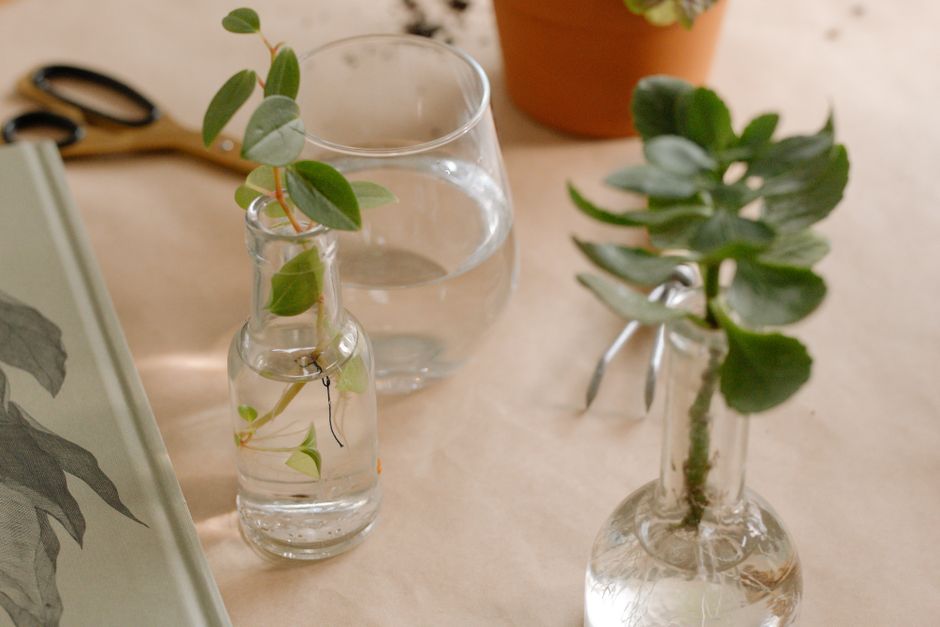
Propagating pothos and philodendrons in water is a common and accessible method for expanding a plant collection or sharing plants with others. Both genera are popular indoor plants known for their trailing habit and tolerance of a range of indoor conditions. Water propagation allows you to observe root development directly, which can be informative for those new to plant propagation. This article outlines the general process, from selecting and preparing stem cuttings to monitoring root growth and transitioning plants to soil. The approach described here is based on widely accepted horticultural practices and is intended for informational purposes.
Pothos (Epipremnum aureum) and philodendrons (Philodendron spp.) are both members of the Araceae family. They produce aerial roots along their stems, which can develop into functional roots when a stem section is placed in water. This natural characteristic makes them suitable candidates for water propagation. The method requires minimal materials and can be done at any time of year, though growth may be slower in low-light conditions. Understanding the plant’s structure and growth habits can help you make informed decisions throughout the process.
Before beginning, it’s helpful to gather the necessary supplies and consider the environment where the cuttings will be placed. While specific outcomes depend on factors such as light, temperature, and plant health, the general steps remain consistent. This guide presents a neutral overview of the process, emphasizing observation and patience. For those interested in plant care products, GreenLeaf Botanicals offers a range of supplies, but the focus here is on the method itself.
Selecting and Preparing Stem Cuttings
The first step in water propagation is selecting a healthy stem from the parent plant. Look for a stem that is actively growing and free from signs of disease or pest infestation. A suitable stem will have at least one node, which is the point where a leaf attaches to the stem. Nodes often contain dormant buds and aerial root primordia, which are the precursors to new roots. Cuttings taken from the terminal end of a vine or from middle sections can both work, but terminal cuttings may root more quickly due to higher concentrations of natural growth hormones.
Using clean, sharp scissors or pruning shears, make a cut just below a node. The cutting should be long enough to include at least one node and one or two leaves. For pothos, a cutting with two or three nodes is often recommended, as it increases the chances of successful rooting. For philodendrons, similar guidelines apply, though some species have different growth habits. After cutting, remove any leaves that would be submerged in water, as they can rot and cloud the water. The remaining leaves should be kept above the water line to continue photosynthesis.
It’s important to use a clean container for rooting. A glass jar or vase works well because it allows you to monitor root development without disturbing the cutting. Fill the container with room-temperature water, preferably filtered or distilled, as tap water may contain chlorine or other chemicals that could inhibit root growth. Some propagators let tap water sit overnight to allow chlorine to dissipate. Place the cutting in the water so that the node is submerged, but the leaves remain dry. If the cutting is top-heavy, you can use a support or choose a container with a narrower opening to hold it upright.
Monitoring Root Development in Water
Once the cuttings are in water, place the container in a location that receives bright, indirect light. Direct sunlight can overheat the water and damage the cutting, while too little light may slow root development. Ideal temperatures for rooting are typically between 65°F and 75°F (18°C–24°C). Change the water every few days to keep it fresh and oxygenated. Cloudy water or water with a strong odor may indicate bacterial growth, which can harm the cutting. If you notice any slime or decay on the stem, remove the affected area and replace the water.
Roots typically begin to emerge from the node within one to three weeks, depending on the species and environmental conditions. Pothos cuttings often root quickly, sometimes within a week, while philodendrons may take a bit longer. Initially, you may see small white bumps called root primordia, which eventually elongate into roots. As roots grow, they may branch and become more numerous. The length of roots can vary; some propagators wait until roots are 1–2 inches long before transplanting, while others prefer to let them grow longer. There is no strict rule, but longer roots may adapt more easily to soil.
During the rooting period, monitor the cutting for any signs of stress. Yellowing leaves could indicate that the cutting is focusing energy on root production, or it might be a sign of insufficient light or nutrients. Since water does not provide significant nutrients, the cutting relies on stored energy in the stem and leaves. If the cutting appears healthy and roots are growing, you can continue to change the water regularly. Some people add a diluted liquid fertilizer at this stage, but it’s not necessary and can sometimes burn the delicate roots. Observation is key: healthy roots are usually white or light tan, while dark, mushy roots may indicate rot.
Transitioning from Water to Soil
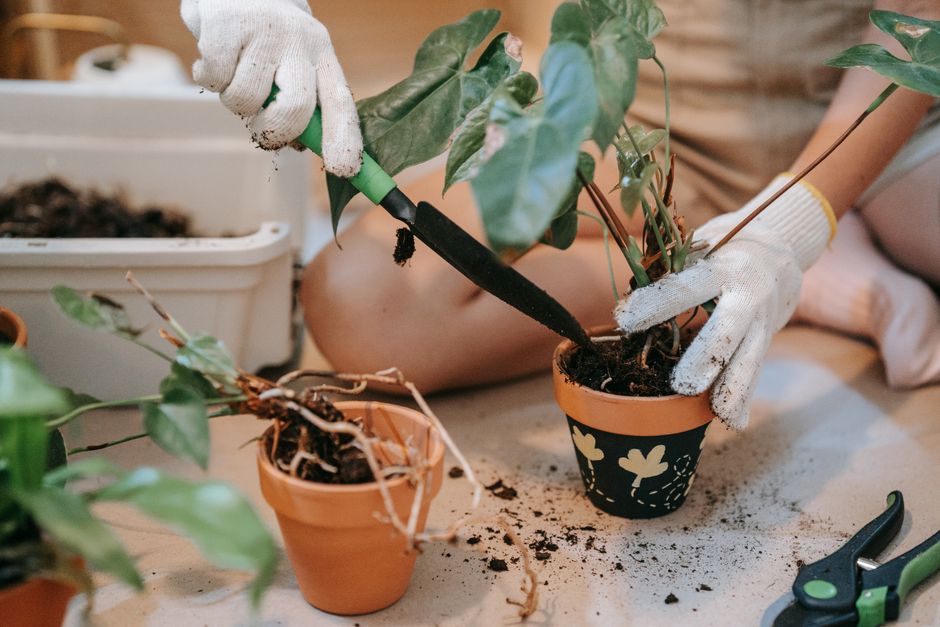
When roots have reached a suitable length—often 2–3 inches—you can transplant the cutting into soil. This step requires some care because roots grown in water are adapted to a water environment and may be more fragile than those grown in soil. Choose a well-draining potting mix, such as one formulated for houseplants. Moisten the mix before planting to reduce shock. Gently remove the cutting from the water and plant it in a small pot, burying the roots and the original node. Press the soil gently around the stem to eliminate air pockets.
After transplanting, water the soil thoroughly and allow excess water to drain away. Place the pot in a location with bright, indirect light, similar to the rooting environment. For the first week or two, keep the soil consistently moist but not waterlogged. Some propagators cover the pot with a plastic bag to maintain humidity, but this is optional. Gradually acclimate the plant to lower humidity by opening the bag over time. It’s normal for the plant to experience some transplant shock, which may manifest as slight wilting or leaf drop. This is usually temporary if the plant is otherwise healthy.
Monitor the plant closely for the first few weeks after transplanting. New growth is a positive sign that the roots are functioning in soil. If the plant shows signs of distress, check the soil moisture and light conditions. Overwatering can lead to root rot, while underwatering can cause wilting. Finding the right balance may require some adjustment. Keep in mind that the transition from water to soil is a critical period, and success can depend on factors such as the plant’s overall health, the quality of the soil, and environmental conditions. There is no guarantee of success, but careful attention can improve the chances.
Ongoing Care and Considerations
Once the propagated plant is established in soil, it can be cared for like the parent plant. Pothos and philodendrons are generally adaptable and can thrive in a range of indoor conditions. They prefer bright, indirect light but can tolerate lower light levels, though growth may be less vigorous. Water when the top inch of soil feels dry to the touch. Fertilize sparingly during the growing season, as over-fertilization can damage the roots. Regular pruning can encourage bushier growth and provide new cuttings for future propagation.
It’s worth noting that water propagation is not the only method available. Some growers prefer to root cuttings directly in soil or use other media like sphagnum moss or perlite. Each method has its own advantages and considerations. Water propagation allows for easy observation of root development, which can be satisfying and educational. However, roots grown in water may be more brittle and require careful handling during transplant. Understanding these differences can help you choose the approach that best fits your situation.
Finally, keep in mind that plant propagation involves living organisms and outcomes can vary. Factors such as the time of year, the health of the parent plant, and the indoor environment all play a role. While the steps outlined here are based on common practices, individual results may differ. For those seeking additional resources, GreenLeaf Botanicals provides information and products that may support plant care routines. However, the responsibility for plant health lies with the grower, and no specific results are guaranteed.